Friday 27 October 2017

Designing and 3D Printing 15mm Fantasy Bases and Movement Trays

I have been loving Tinkercad and I needed a solution for my 15mm Fantasy basing woes.  I have designed a prototype that I think I am going to stick with.  I haven't glued the figures to their bases yet but will most likely go ahead with this prototype and it will be the standard for my 15mm basing.

I predominantly want to do 15mm Fantasy for dungeon crawling however I do like the idea of using them in other systems and they look awesome in Rank and File.

3D Fantasy Movement Tray
The prototype in its full glory! Pretty stocked with this!

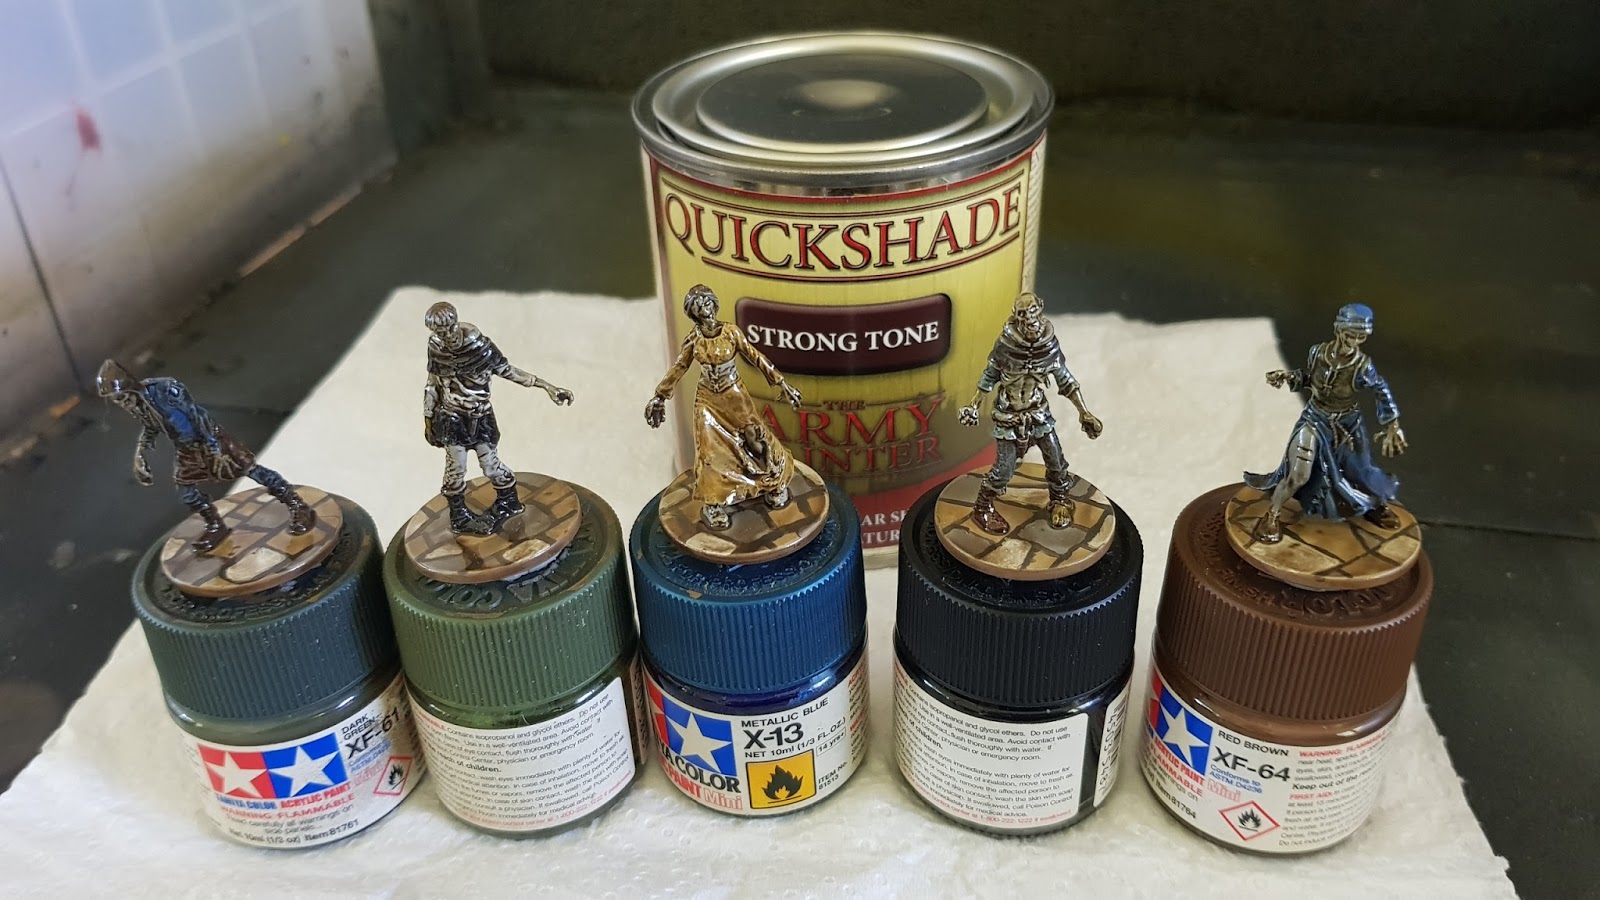
First off I designed a base in Tinkercad that would accommodate a Ral Partha figure and a 1mm magnet.  The Ral Partha troops are around 10mm in diameter with their included base.  The figure will "sink" into the base with room for a 1mm magnet underneath it. The dimensions of the base are 12mm x 12mm x 2mm.  The 10mm hole for the figure is 1mm deep and the hole for the 2mm x 1mm magnet is 1mm deep.

15mm fantasy base
Prototype base for Ral Partha 15mm Fantasy figures

I then printed it off and everything came out nicely.  My printer does need a little fine tuning.


I used a zombie to test it, worked out very nicely

I then needed to design a movement tray.  I am completely unfamiliar with massed battles and movement tray sizes for 15mm. I wanted to start off with a 4 x 2 tray and came up with the following.

The prototype movement tray

The dimensions for the tray are: 51.5mm x 25.9mm x 3mm.  This will allow the figure on its base to fit nice and flush and allow a 2mm x 1mm magnet to drop int.  The walls dividing the figures are 0.3mm in width!

I did a test print which came out well except I need to tune my printer slightly.  

3D printed fantasy movement tray
Needed a little clean up but design checks out!
I made the holes for the magnets slightly bigger than 2mm to allow a little extra room however I found I don't need it as I tweaked with my slicer settings.

The magnets were slightly loose but this will be an easy fix in Tinkercad.  They were glued in.


I was pretty impressed how this turned out.  I decided to put my skeletons into the bases and everything checked out!

They fit nicely and provide great stability for my 3D printed dungeon

Rank and file looks awesome


12mm x 12mm base size feels just about right


What's next?

Once I get some feedback from the internet I will adjust the design and go from there.  I am already thinking the 12mm base is almost perfect in size, as it provides great stability and isn't too big.  Any smaller probably wouldn't work.  I need to tighten up the holes for the magnets as my slicer and 3D printer are super accurate!  I am not limited to 4 x 2, any combination is possible.  I just need to improve my skills in Tinkercad to churn out the movement trays.

Once I am happy with everything these will be released on thingiverse.


Thursday 26 October 2017

Taking a Dip Part 1 - Black Plague Zombies

The Army Painter has had their quick shade "dips" around for quite some time now.  As always I have been very late to the party.  I recently picked up some of this brilliant product at MOAB 2017 from War And Peace Games


The stuff provides a very hard glossy coat to your figures protecting them and the shading is exceptionally good.  The shine is easily reduced with some Matte Varnish.  I use AK Interactive Ultimate Matte Varnish do reduce the shine once cured.

A very quick tutorial/guide on how I painted them.  I mostly use a much simplified version of Sorastro's Guide.

I painted my figures with a very rough and rubbishy base coat.  I gave them an even more rubbish dry brush afterwards all over with the Army Painter Zombie Skin I focused on mostly the skin however dry brushed lightly the clothes etc


Once the paint was all cured they looked something like this... Rubbish I know.

10 Year old me would be proud of these

After this the fun part started.  Using a brush I applied the strong tone and they looked something like this...


Once the quick shade dries it is extremely glossy and looks something like this...

Shinier than an English Rugby Supporter's head

I sprayed a heavy coat of AK Interactive's Ultimate Matte Varnish and applied some pink eyes and some Blood from the Blood God from that company that rips you off.  It gives a result like this...

Zombicide Black Plague Zombies Painted
Zombicide Black Plague Zombies

Zombicide Black Plague Zombies

You can see how a rubbish paint job which was rough as guts all of the sudden looks very nice.  The figures are well protected and great for the rigors of an intense zombie slaying session.

All in all this is a very quick and easy way to paint zombies and other gaming pieces.  Certainly not my finest paint job but they will look great in game.


Wednesday 25 October 2017

3D Printing Napoleonic Movement Trays and Bases Part 2

So I have been late to the party and discovered Tinkercad.  Loving it so far.  I have some big plans and will end up sharing my designs.  Just still getting my head around a few things.

So I posted an article here on how I made my bases for my Napoleonics.  Well now I have designed a custom base I can proudly call my own that is 20mm x 20mm x 2mm.  It has a hole in the exact centre to allow a 5mm x 2mm rare earth magnet to perfectly fit.  I made the hole for it 5.3mm in diameter for a tight fit.

This saves the drill and a lot of mess... oh an unnecessary plastic wastage!

This is only the beginning.

Tinkercad design wargame base
Proud of my first design using Tinkercad. 20x20x2 base with a 5.3mm hole

3d printed wargame base
Duplicated it in the slicer as I needed to bases

wargame base magnet
A perfect snug fit, I only add Glue when placing the Soldiers on

Boom!


Saturday 21 October 2017

Test Figure - Napoleonic Austrians

I couldn't wait to get started on Napoleonics and decided to go with my Austrian Forces.  I chose the 4th Austrian Infantry Regiment, Hoch und Deutschmeister from Lower Austria.  Of note Austrian regiments were named after their Colonel.

I chose this regiment as the blue uniform trim looks great and the Perry Miniatures Box Set comes with a flag for them.  I haven't done much research into the period however am learning each time I commit to the hobby.

It was fun to paint and I shall be doing lots of batch painting to get these on the table.  I wanted to achieve a nice table top standard and didn't want to invest too much time.  I think I will paint 4-6 models at a time.  Anything more than that and I get bored.  If I generate some interest I will post a how to guide.

Was quite the challenge photographing a predominantly white figure

All complete and ready for the photo booth

WIP

WIP

The other Austria


Adler Miniatures 20mm Panzer Lehr

Well aren't these lovely figures.  In 2016 Adler Miniatures, known for their extensive 6mm range expanded into 20mm with some WW2.  Among the first sculpts are some lovely Panzer Lehr.  Adler are slowly expanding their 20mm range and I would love to see more Panzer Lehr from them.

They scale almost perfectly with AB Figures.  A little taller and slimmer than Wartime and almost on par with Elhiem.  I will do a comparison once I paint up some Elhiem.

These are for my ongoing 20mm 1/72 Panzer Lehr Project for Battlegroup and Bolt Action on a grander scale!

20mm Panzer Lehr Miniatures
Adler GL2 - 5 x Rifleman with 98k and NCO with MP40 Advancing


Panzer Lehr Miniatures

20mm Adler Panzer Lehr20mm Panzer Lehr Miniatures Adler

Friday 20 October 2017

Challenge Complete... Clear the bench.

About 6 weeks ago I proposed to clear the backlog of models on my bench and what I failed to complete during my 100 Days of Hobby Challenge.  Click here to see this.

And boom we are done!  40 Figures and 5 vehicles later! Time for a break from Hobby Challenges and work on some stuff I am keen to get stuck into!

All those red crosses... so many red crosses...


The beggining

Was a bit daunting at first but mission complete


Winter is here... sort of

I have been delaying my winter project for quite some time but have finally got around to painting my test figure as part of my clear the bench challenge, which is now clear!

The test figure is a Warlord Games German Winter Grenadier.

It was extremely easy to paint and I am quite pleased with the outcome.

Paints used:

Smock - Vallejo Ivory, Secret Weapon Soft Body Black Wash, Dry Brush Vallejo White
Pants - Vallejo German Field Grey
Helmet - German Cam Dark Green, Mig White Washable Camo

Base: Wilder Snow effects, GW Valhallan Blizzard, Woodland Scenics Snow Flock

Varnish - Vallejo Polyurethane Matt Varnish, AK Ultra Matte Varnish

Happy with how the smock came out, I want these painted fast and didn't want to do layer upon layer to get the white right.  Only took about 2 hours all up.

28mm Winter German Grenadier
28mm Warlord Games Winter German Grenadier

wargame varnish miniature varnish
Whilst Basing him I dropped him head first into the floor

Vallejo Polyurethane Matt Varnish
Thanks to Vallejo Polyurethane Matt Varnish no chips! The varnish is satin tho

WIP

Painted the white first. Quick and easy


Bless the rains... I miss being in the DAK